
As a Machine Learning developer, I personally feel image labeling is unexciting, time-consuming, and an expensive task. But thankfully, with recent developments in the computer vision domain, particularly the introduction of powerful zero-shot object detectors like Grounding DINO, we can actually automate most of the image labeling process for the majority of use cases. We can actually write a Python script that will do 95% of the work for us. Our only task is to review those annotations at the very end and possibly add or remove some bounding boxes.

Image by Author
Before getting into Auto Image labeling we should know what is Grounding DINO ? and why are we using it ?
Grounding DINO can detect dominant objects with given prompt inputs such as category names or referring expressions. The primary solution to open set object detection is introducing language to a closed set detector. DINO for open set concept generalization: to effectively fuse language and vision modalities, we conceptually divide a closed set detector into three phases: backbone, neck, and head. We then propose a tight fusion solution by fusing language information in neck query initialization and head Grounding DINO includes a feature enhancer, language-guided query selection, and a cross-modality decoder for cross-modality fusion.
Grounding DINO achieves a 52.5 percentage AP(Average Precision) on the COCO dataset detection zero shot transfer benchmark that is without any training data from COCO dataset after fine-tuning on COCO dataset it achieves 63.0 AP. With a mean 26.1 AP, it establishes a new record on the OdinW zero shot benchmark. We also explore how to leverage pre-trained DINO by training language and fusion modules only. Grounding DINO from DINO converges much faster than baseline models.
our Grounding DINO can also collaborate with stable diffusion for image editing, for example we can detection the Green Mountain in the image and generate new images with a text prompt Red Mountain also it can modify the background of a person by first detecting a face we can also use GLIGEN for more detailed controls like assigning each box an object this is our model Grounding DINO for open set object detection.
Okay, dive into the auto image labeling part, and here i’m Google colab for high Computing Power.
Let’s begin,
Let’s make sure that we have GPU access. We can use the nvidia-smi command to check if the GPU is connected or not to check if the GPU is connected or not. In case you face any problems, navigate to Edit -> Notebook settings -> Hardware accelerator, set it to GPU, and then click Save. which will greatly shorten the time it takes for auto-labeling to be complete.
nvidia-smi
Install Grounding DINO Model
Our project will use groundbreaking design?—?Grounding DINO for zero-shot detection. We have to install it first.
!git clone https://github.com/IDEA-Research/GroundingDINO.git %cd GroundingDINO !git checkout -q 57535c5a79791cb76e36fdb64975271354f10251 !pip install -q -e . The supervision python index package will help us process, filter, and visualize our detections as well as to save our dataset and will be the glue that holds all the pieces of our demo together. With Grounding DINO, a lesser version of the “supervision” was installed. But for this demonstration, we require the new features added in the most recent iterations. In order to install version “0.6.0,” we first uninstall the current “supervision” version.
!pip uninstall -y supervision !pip install -q supervision==0.6.0 import supervision as svn print(svn.__version__) The Grounding DINO Model Weights Download
We require the configuration and model weights files in order to run Grounding DINO. We have already cloned the Grounding DINO repository, which contains the configuration file. On the other hand, we must download the weights file. We check to see if the paths are accurate and that the files are present on disc after writing the paths to both files to the variablesGROUNDING_DINO_CONFIG_PATHand GROUNDING_DINO_CHECKPOINT_PATH.
import os GROUNDING_DINO_CONFIG_PATH = os.path.join("groundingdino/config/GroundingDINO_SwinT_OGC.py") print(GROUNDING_DINO_CONFIG_PATH, "; exist:", os.path.isfile(GROUNDING_DINO_CONFIG_PATH)) !mkdir -p weights %cd weights !wget -q https://github.com/IDEA-Research/GroundingDINO/releases/download/v0.1.0-alpha/groundingdino_swint_ogc.pth import os %cd /content/GroundingDINO GROUNDING_DINO_CHECKPOINT_PATH = os.path.join("weights/groundingdino_swint_ogc.pth") print(GROUNDING_DINO_CHECKPOINT_PATH, "; exist:", os.path.isfile(GROUNDING_DINO_CHECKPOINT_PATH)) Assuming you have already installed PyTorch, you can use the following command line to import torchand set the device to use for computation:
import torch DEVICE = torch.device('cuda' if torch.cuda.is_available() else 'cpu') Load Grounding DINO Model
from groundingdino.util.inference import Model grounding_dino_model = Model(model_config_path=GROUNDING_DINO_CONFIG_PATH, model_checkpoint_path=GROUNDING_DINO_CHECKPOINT_PATH)Dataset Preparation
Create a folder called data and move the unlabelled images to that folder.
!mkdir -p data Single Image Mask Auto Annotation
Before we automatically annotate the entire dataset let’s focus for a moment on a single image.
SOURCE_IMAGE_PATH = "/content/GroundingDINO/data/example_image_3.png" CLASSES = ['person','dog'] #add the class name to be labeled automatically BOX_TRESHOLD = 0.35 TEXT_TRESHOLD = 0.15Zero-Shot Object Detection with Grounding DINO
We will use the enhance_class_name function, which is described below, to use some prompt engineering to get better Grounding DINO detection.
from typing import List def enhance_class_name(class_names: List[str]) -> List[str]: return [ f"all {class_name}s" for class_name in class_names ] import cv2 import supervision as sv # load image image = cv2.imread(SOURCE_IMAGE_PATH) # detect objects detections = grounding_dino_model.predict_with_classes( image=image, classes=enhance_class_name(class_names=CLASSES), box_threshold=BOX_TRESHOLD, text_threshold=TEXT_TRESHOLD ) # annotate image with detections box_annotator = svn.BoxAnnotator() labels = [ f"{CLASSES[class_id]} {confidence:0.2f}" for _, _, confidence, class_id, _ in detections] annotated_frame = box_annotator.annotate(scene=image.copy(), detections=detections, labels=labels) %matplotlib inline svn.plot_image(annotated_frame, (16, 16))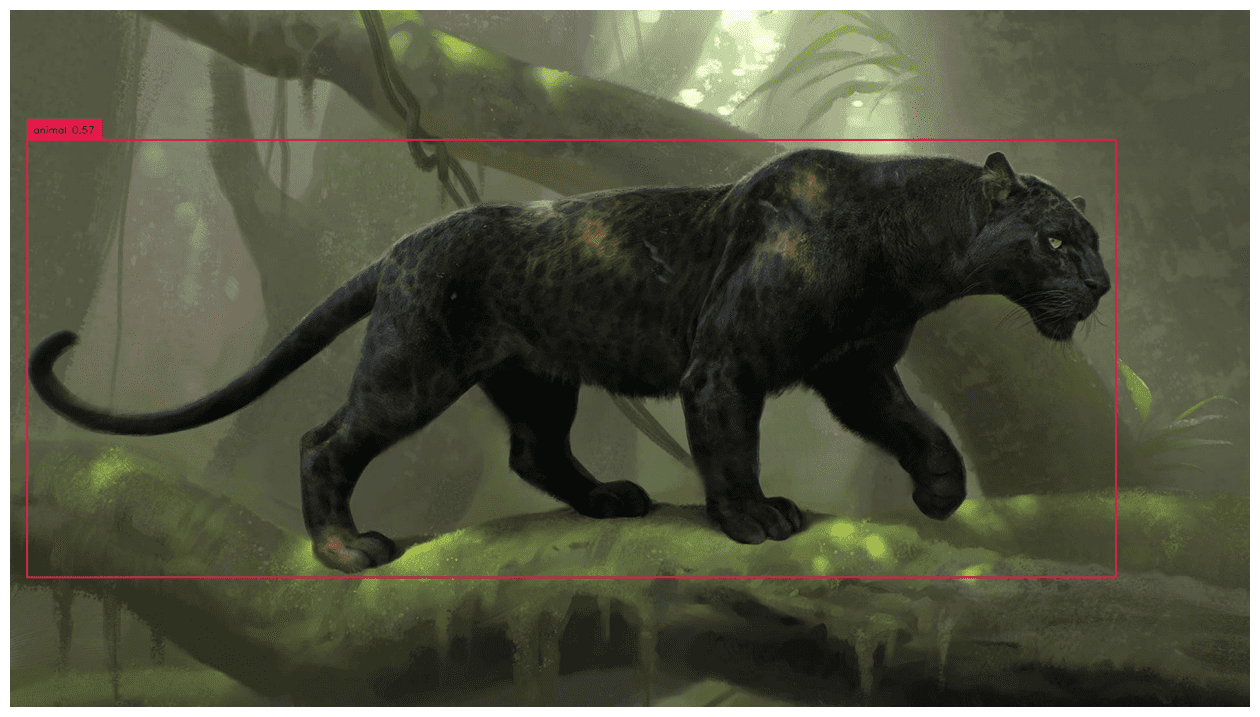 Full Dataset Mask Auto Annotation
import os IMAGES_DIRECTORY = "./data" IMAGES_EXTENSIONS = ['jpg', 'jpeg', 'png'] CLASSES = ['person','dog] BOX_TRESHOLD = 0.35 TEXT_TRESHOLD = 0.15Extract Labels from Images
import cv2 from tqdm.notebook import tqdm images = {} annotations = {} image_paths = svn.list_files_with_extensions( directory=IMAGES_DIRECTORY, extensions=IMAGES_EXTENSIONS) for image_path in tqdm(image_paths): image_name = image_path.name image_path = str(image_path) image = cv2.imread(image_path) detections = grounding_dino_model.predict_with_classes( image=image, classes=enhance_class_name(class_names=CLASSES), box_threshold=BOX_TRESHOLD, text_threshold=TEXT_TRESHOLD ) detections = detections[detections.class_id != None] images[image_name] = image annotations[image_name] = detectionsPlotting the Results
plot_images = [] plot_titles = [] box_annotator = svn.BoxAnnotator() mask_annotator = svn.MaskAnnotator() for image_name, detections in annotations.items(): image = images[image_name] plot_images.append(image) plot_titles.append(image_name) labels = [ f"{CLASSES[class_id]} {confidence:0.2f}" for _, _, confidence, class_id, _ in detections] annotated_image = mask_annotator.annotate(scene=image.copy(), detections=detections) annotated_image = box_annotator.annotate(scene=annotated_image, detections=detections, labels=labels) plot_images.append(annotated_image) title = " ".join(set([ CLASSES[class_id] for class_id in detections.class_id ])) plot_titles.append(title) svn.plot_images_grid( images=plot_images, titles=plot_titles, grid_size=(len(annotations), 2), size=(2 * 4, len(annotations) * 4) 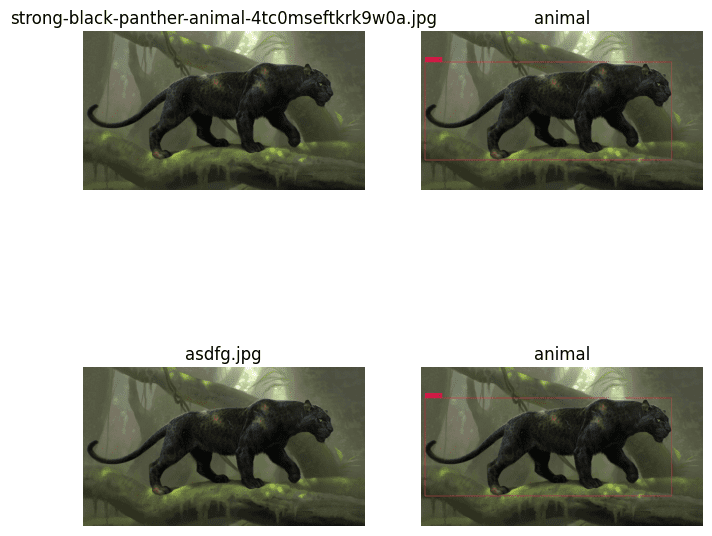 Save labels in Pascal VOC XML
%cd /content/GroundingDINO !mkdir annotations ANNOTATIONS_DIRECTORY = "/content/GroundingDINO/annotations" MIN_IMAGE_AREA_PERCENTAGE = 0.002 MAX_IMAGE_AREA_PERCENTAGE = 0.80 APPROXIMATION_PERCENTAGE = 0.75 svn.Dataset( classes=CLASSES, images=images, annotations=annotations ).as_pascal_voc( annotations_directory_path=ANNOTATIONS_DIRECTORY, min_image_area_percentage=MIN_IMAGE_AREA_PERCENTAGE, max_image_area_percentage=MAX_IMAGE_AREA_PERCENTAGE, approximation_percentage=APPROXIMATION_PERCENTAGE ) Thanks for reading !!!
Here is a link for entire colab file.
Reference:https://arxiv.org/abs/2303.05499 & https://github.com/IDEA-Research/GroundingDINO
Parthiban M currently lives in Chennai (India) and work at SeeWise . He is a ML Developer with wide experience in understanding the problems and providing solutions by developing ML models using Computer vision, TensorFlow and Deep learning.
- How to Ace Data Science Assessment Test by Using Automatic EDA Tools
- Agile Data Labeling: What it is and why you need it
- Are you familiar with data labeling?
- How to calculate confidence intervals for performance metrics in Machine…
- Automated Data Labeling with Machine Learning
- Data Labeling for Machine Learning: Market Overview, Approaches, and Tools