Image by storyset on Freepik
ChatGPT is a part of everyone's life right now. The GPT model has provided the user with something that years ago did not exist, such as easy knowledge searching, marketing planning, code completion, and many others. It’s a system that would only evolve further in the future.
One common way to use ChatGPT is through the web platform, where we can explore and store the prompt result. But we can also use the OpenAI API, which many developers do. In turn, the API can also be used to extend the result into our Command-Line Interface (CLI).
How do we access ChatGPT into our CLI? Let’s learn about it.
ChatGPT CLI
ChatGPT CLI is a Python script to use ChatGPT in our CLI. Using the OpenAI API, we can easily access ChatGPT in our CLI, similar to when we use it on the website. Let’s try it out ourselves.
First, we need OpenAI API Key, which you can get by registering on the OpenAI Developer Platform and visiting the View API keys within your profile. After you create and acquire your API key, store them somewhere, as the key will not reappear after being generated.
Next, clone the ChatGPT CLI repository onto your system using the following code in the CLI.
git clone https://github.com/marcolardera/chatgpt-cli.gitIf you have cloned the repository, change your directory to the chatgpt-cli folder.
cd chatgpt-cliInside the folder, install the requirement using this code.
pip install -r requirements.txtThen, we would need to explore the folder previously cloned with IDE. In this example, I would use Visual Studio Code. When you have explored the folder, the content should look like the image below.
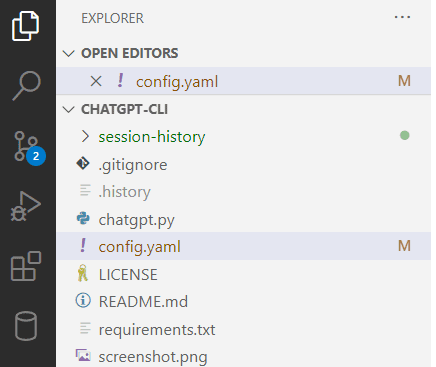
Inside them, access the config.yaml file and replace the api-key parameter with your OpenAI API Key.
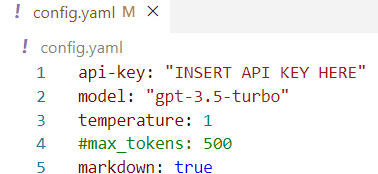
You can also change the parameter you want to pass into the API. You can refer to my previous article to understand all the parameters available from the OpenAI API.
We can now use the CLI as ChatGPT with all the settings set. To do that, you only need to run the following code.
python chatgpt.py 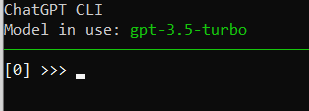
Just try to type anything on the CLI, and you will get the result immediately. For example, I pass the prompt, “ Give me the list of song recommendations from the 1990s.”
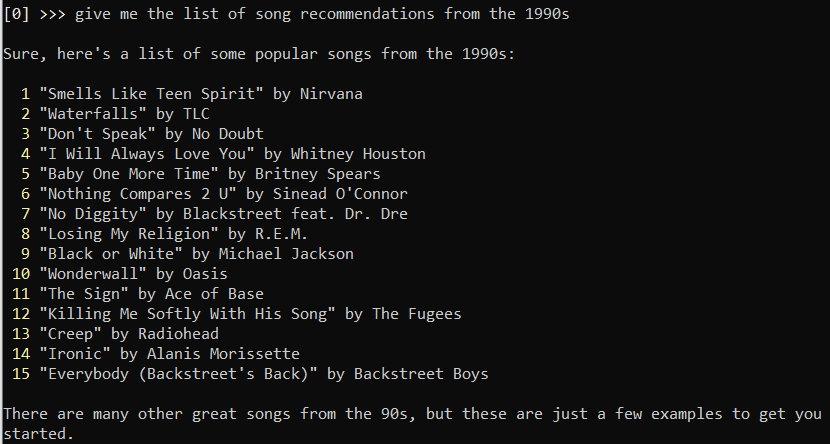
The result shows up in the CLI, similar to the image above. We can also continue the prompt similar to how we use the ChatGPT in the web platform.
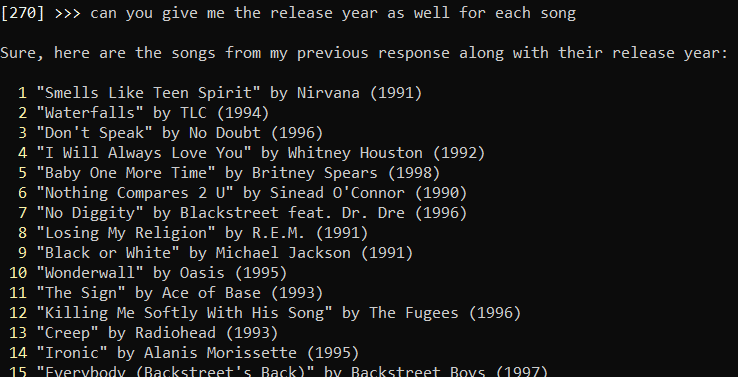
The number that shows up before each prompt is the number of tokens that have been used so that we can be cautious about them as well.
Additionally, you can use the multi-line mode if you have a long prompt by adding the -ml parameter before launching the script.
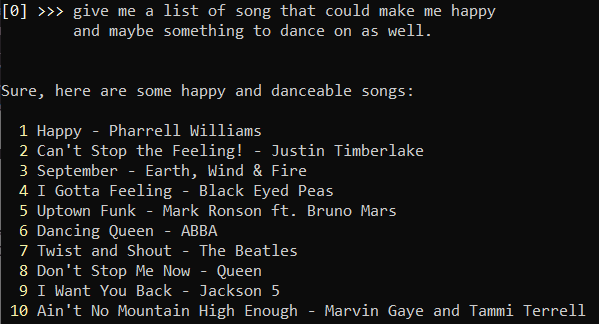
Finally, use the /q command if you want to quit. When you finish, the ChatGPT CLI will show you the number of tokens you have used and the estimated expense from your activity.
 Conclusion
ChatGPT is here to stay, and we should use them as maximum as possible. In this tutorial, we will learn how to use ChatGPT CLI to perform ChatGPT prompting in our Command-Line Interface.
Cornellius Yudha Wijaya is a data science assistant manager and data writer. While working full-time at Allianz Indonesia, he loves to share Python and Data tips via social media and writing media.
- Visual ChatGPT: Microsoft Combine ChatGPT and VFMs
- How to Clean Text Data at the Command Line
- 5 More Command Line Tools for Data Science
- Stop Running Jupyter Notebooks From Your Command Line
- Data Science at the Command Line: The Free eBook
- ChatGPT: Everything You Need to Know